( Free · in the browser · no sign-up )
Add a vignette to photos online.
Amount. Midpoint. Roundness. Feather. Darker edges. Lens correction.
Lead the eye to the center by darkening the edges, or do the opposite: brighten corners the lens made dark. Four controls set where the vignette starts and how it ends.
You can also drag and drop one or multiple images in this area.•Accepted inputs: JPEG, PNG, WEBP, AVIF, HEIC, TIFF, GIF and BMP (HEIC and TIFF are converted on import). Export as JPEG, PNG and AVIF, and as WEBP when the browser supports that encoding.
Image editing runs in the browser. The site can still make technical requests and, subject to your consent, load measurement or advertising. Read the Privacy Policy.

- 01No installation
- 02In-browser editing
- 03Preview before export
- 04No sign-up
( How it works )
A vignette nobody notices as an effect
- ( 01 / 03 )
1. Pick the direction
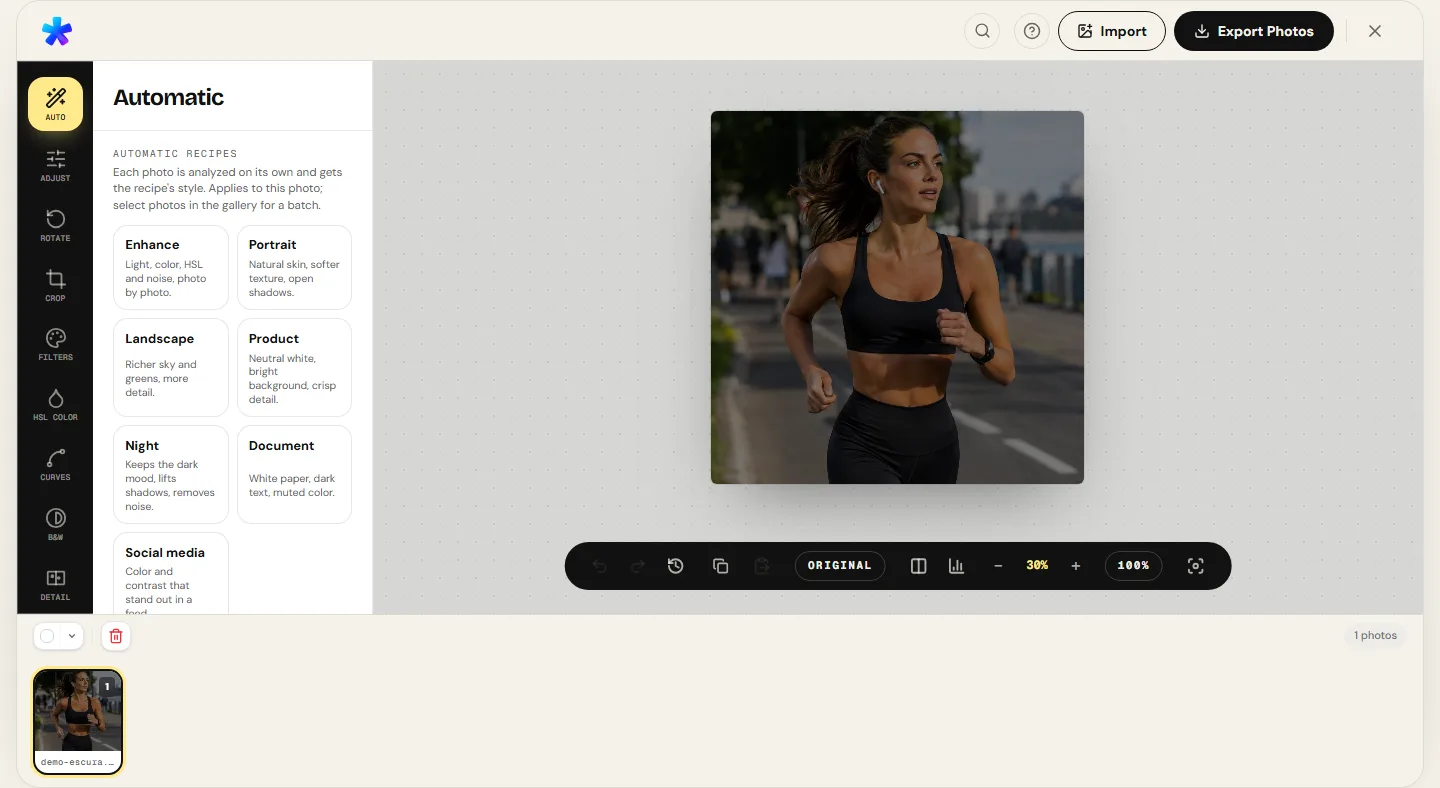
Negative Amount values darken the edges; positive values brighten them. For corners darkened by the lens, the Fix lens vignetting button measures it for you.
- ( 02 / 03 )
2. Place the transition
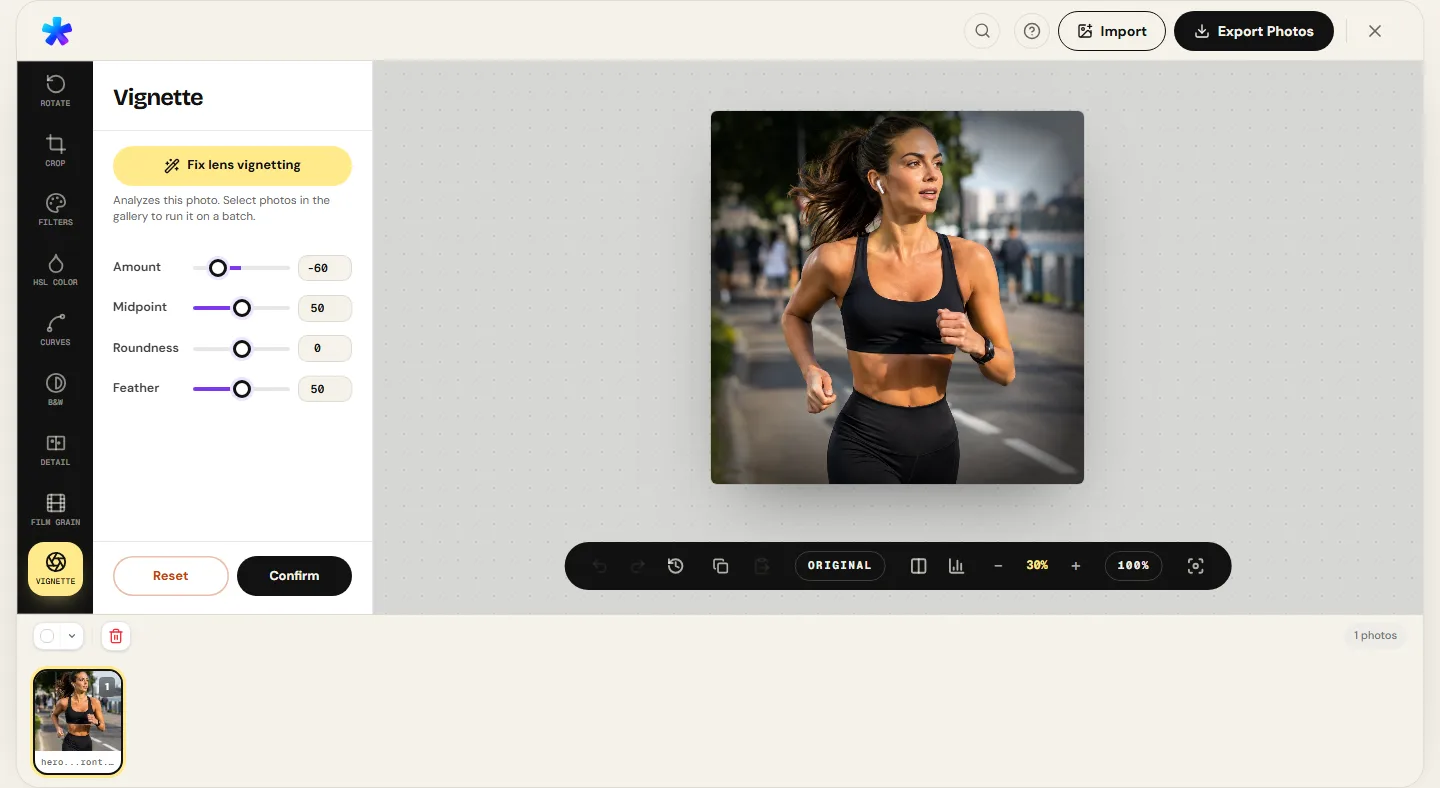
Midpoint sets how far from the center the vignette starts. Feather sets whether the transition is short and visible or long and invisible. Roundness goes from a rounded rectangle to a circle.
- ( 03 / 03 )
3. Compare with the original
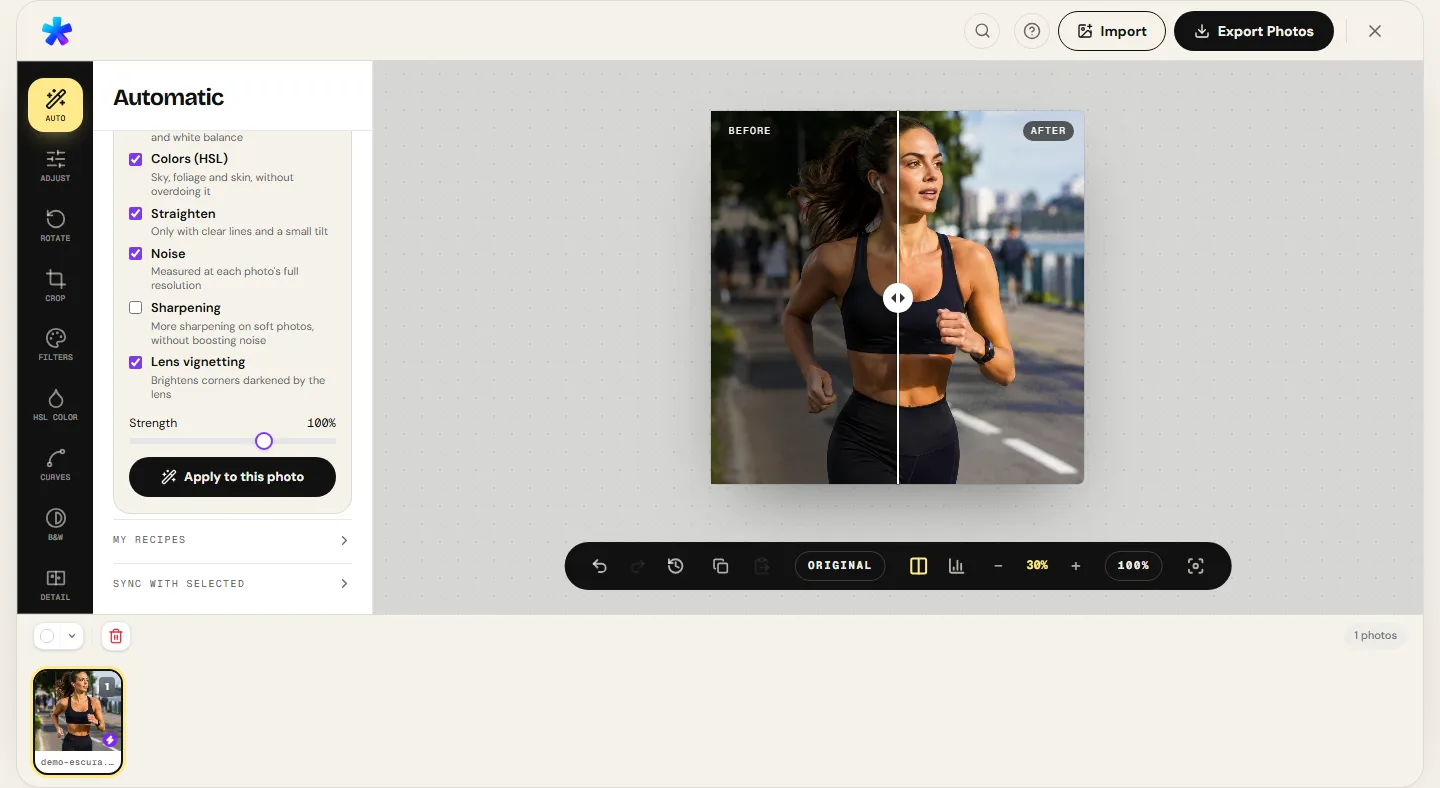
Use the before/after divider. If the vignette reads as a dark frame, it is too strong for most photos.
( The interface )
Current tool interface
( What it does )
The vignette controls
- 01
Amount from −100 to +100
The effect multiplies edge brightness: at −100 edges reach black, at +100 they double in brightness. The middle of the photo, inside the midpoint, does not change.
- 02
Midpoint, roundness and feather
Midpoint (0 to 100) moves the vignette toward or away from the center. Roundness (−100 to +100) swaps a rectangular outline for a circular one. Feather (0 to 100) softens the transition.
- 03
Lens vignetting correction
The automatic option compares the four corners with the center. If the corners are darker it brightens them evenly; if not, it leaves the photo alone.
( What people use it for )
When a vignette helps
- ( 01 )
Portraits
A light negative vignette with high feather takes weight off a bright background and puts the face back at the center of attention.
- ( 02 )
Products on dark backgrounds
Darkening the edges strengthens the feeling of light concentrated on the object, without touching it.
- ( 03 )
Dark lens corners
Fast lenses wide open and some phone lenses darken the corners. The automatic option brightens that falloff.
- ( 04 )
A film look
With grain and a warm filter, a subtle vignette helps build an analog look.
( Questions? Answered )
Frequently asked questions
Negative or positive vignette?
Negative darkens the edges and is the usual choice for guiding the eye. Positive brightens them, useful on white backgrounds or to compensate dark corners.
Why does the vignette look like a frame?
Low feather creates a short, visible transition. Raise Feather and lower Amount until the edges darken without anyone being able to point where it starts.
What does Roundness change?
At negative values the outline follows the photo's rectangle; at positive values it becomes more circular. On very wide photos, a circular shape darkens the sides more than the top.
Does the automatic correction work on any photo?
It only acts when the measured corners are darker than the center. On photos with bright sky at the edges, for example, it applies nothing.
Is the vignette in the exported file?
Yes. It is applied to the pixels on export, in every output format.
( In depth )
The vignette, between lens flaw and composition choice
Vignetting started as an optical flaw and became a composition tool. Knowing which of the two you are dealing with changes which way the control should go.
Why lenses darken the corners
Light reaching the corner of the sensor travels a longer, more oblique path than light reaching the center. Part of it is blocked by the edges of the lens elements, and what gets through spreads over a larger area. The result is a drop in brightness from center to corners, stronger with the aperture wide open.
Stopping down reduces the falloff, and many cameras correct it in their own JPEGs. When it was not corrected, brightening the corners gives the photo even light again. That is what the automatic correction does: it compares the corners with the center and compensates the difference.
Why the eye goes to the center
The eye is drawn to the brightest, highest-contrast areas. A darkened edge reduces competition from the periphery and makes the center feel brighter without anything in it changing. Portrait photographers and painters have used this for a long time, often so lightly the viewer never notices.
A vignette works best when the subject is at or near the middle. With the subject in a corner, it darkens exactly what should be seen; in that case a crop to recenter, or a local adjustment in another tool, works better.
The four parameters in practice
Amount decides how much the edges change. Midpoint decides where the change starts: low values bring the vignette close to the center, high values push it to the corners. Feather decides the width of the transition between the untouched area and the treated edge. Roundness decides the shape of the outline.
A practical rule: if you can point to where the vignette starts, feather is too low or amount too high. For an overt effect, as in old-style photos, that can be intended; otherwise the vignette should be felt, not seen.
( Keep going )
Continue with the right workflow
( Ready when you are )
Darken the edges without anyone noticing
Open the photo, start with Amount at −20 and high Feather, and compare with the original before exporting.