( Free · in the browser · no sign-up )
Apply photo filters online.
Vintage. Matte. Black and white. Warm and cool. Your .cube LUT. Editable after.
Seven ready filters that become values on the adjustment controls — apply one, then fine-tune — and the option to import your own .cube LUT with adjustable strength.
You can also drag and drop one or multiple images in this area.•Accepted inputs: JPEG, PNG, WEBP, AVIF, HEIC, TIFF, GIF and BMP (HEIC and TIFF are converted on import). Export as JPEG, PNG and AVIF, and as WEBP when the browser supports that encoding.
Image editing runs in the browser. The site can still make technical requests and, subject to your consent, load measurement or advertising. Read the Privacy Policy.
- 01No installation
- 02In-browser editing
- 03Preview before export
- 04No sign-up
( How it works )
From a ready filter to your own look
- ( 01 / 03 )
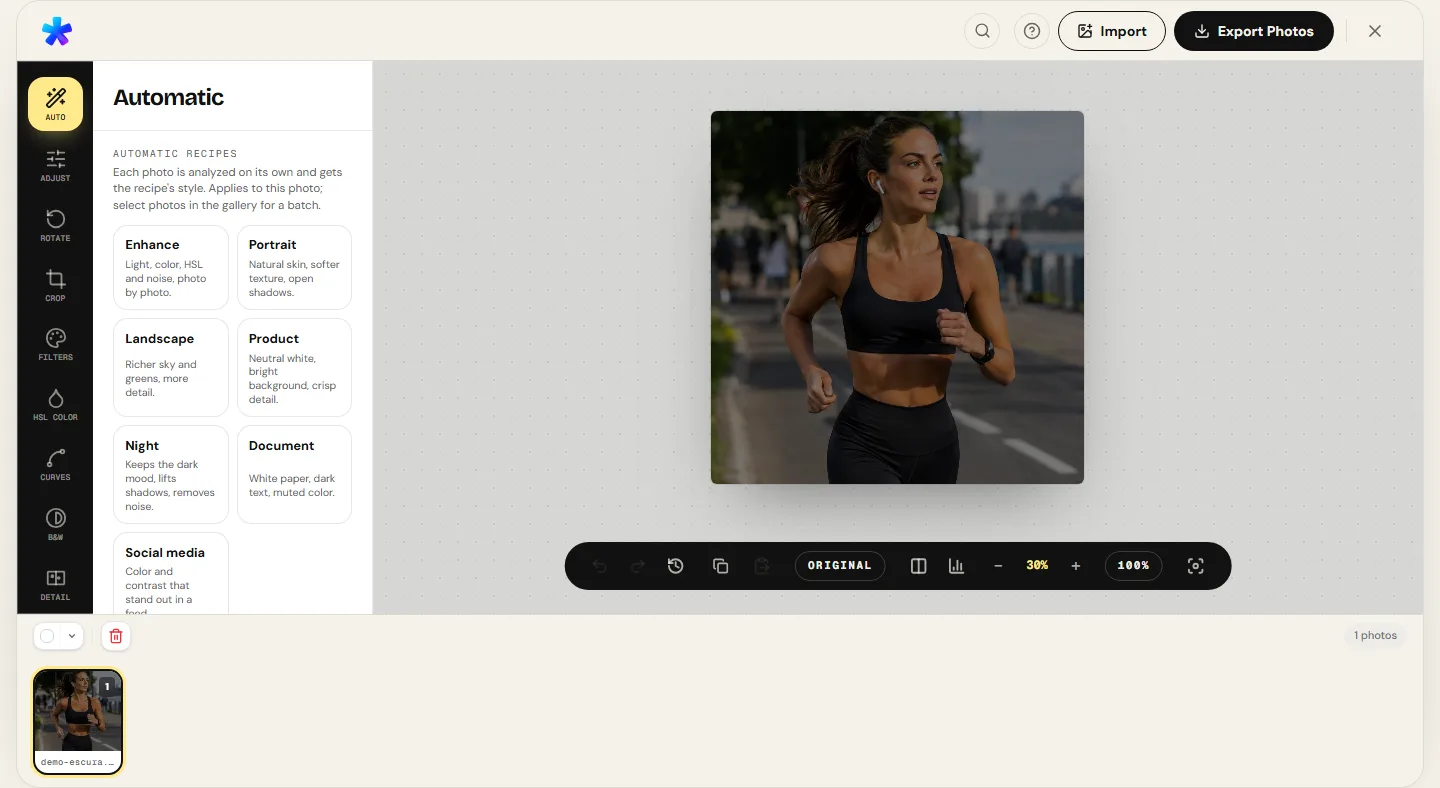
1. Apply a filter
In the Filters panel, click one of the cards. The effect appears in the preview; Original goes back to the previous state without confirming anything.
- ( 02 / 03 )
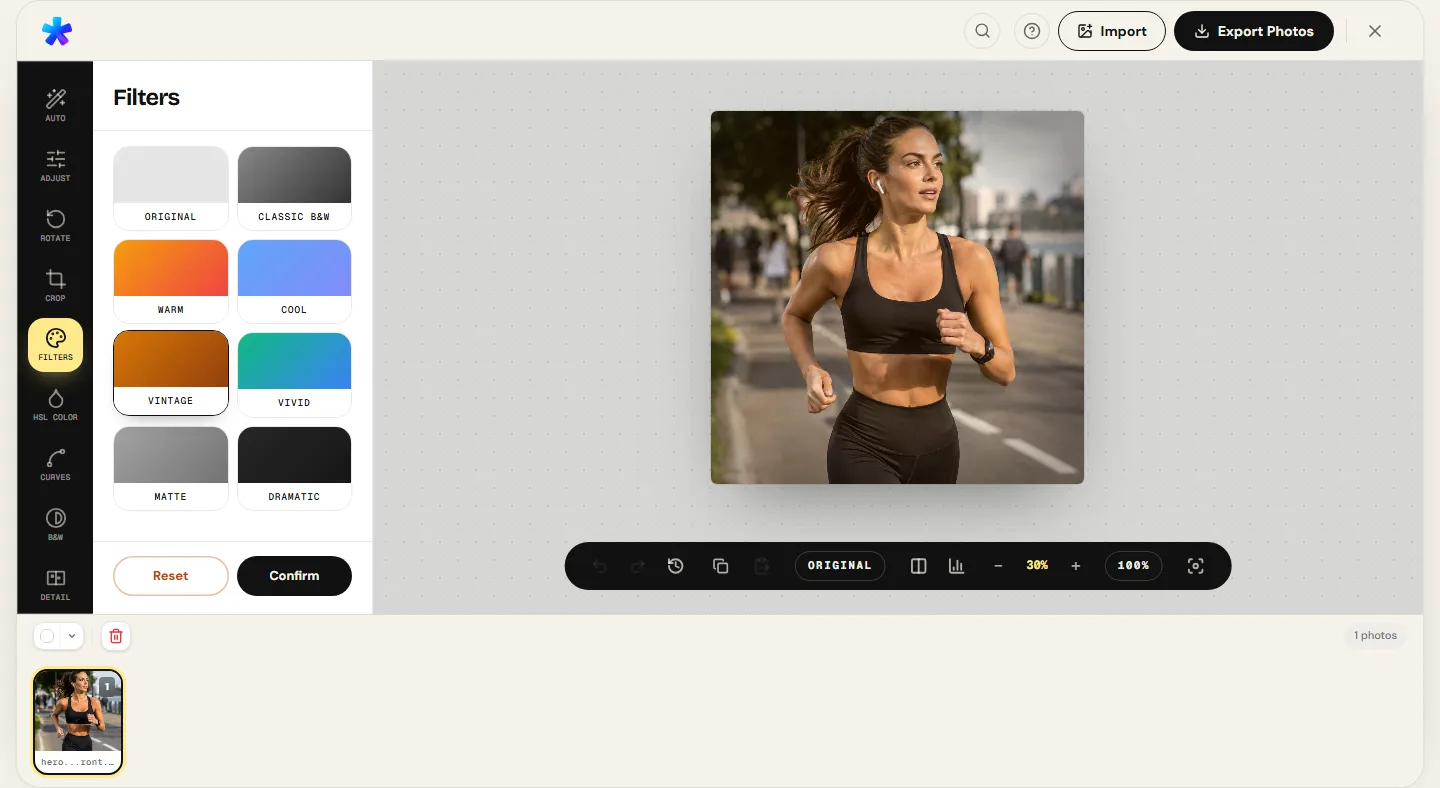
2. Adjust what the filter changed
Filters are combinations of the Adjust panel's controls, plus vignette and grain in some. After confirming, move those controls to fine-tune.
- ( 03 / 03 )
3. Or use your LUT
In the LUT (.cube) section, import a file, choose a strength from 0 to 100 and compare. The LUT stays stored in the browser for your next photos.
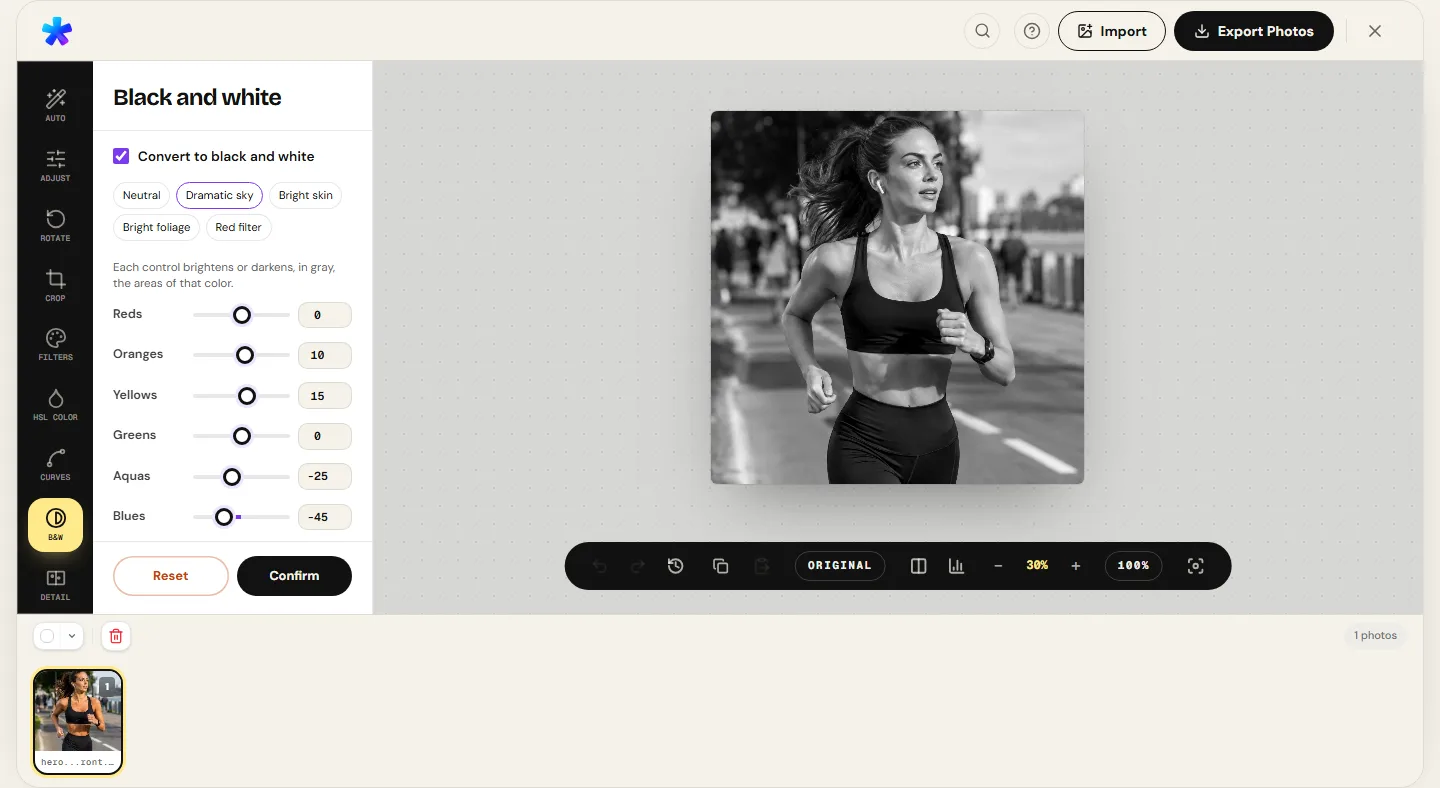
( The interface )
Current tool interface
( What it does )
What the panel offers
- 01
Seven editable filters
Classic B&W, Warm, Cool, Vintage, Vivid, Matte and Dramatic. Each writes values to temperature, saturation, contrast and clarity — and, for Vintage and Dramatic, vignette and grain.
- 02
.cube 3D LUTs
Import 3D LUTs of up to 65 points per axis. The table stays in the browser's storage; deleting the LUT removes the effect from the photos that used it.
- 03
B&W by color in its own panel
For black and white with control over each color's grey, use the B&W panel, with presets such as Dramatic sky and Red filter.
( What people use it for )
When a filter saves time
- ( 01 )
A starting point
Apply Vivid or Matte to see a direction, then correct the photo's own exposure and color.
- ( 02 )
A series with one look
A LUT or a fine-tuned filter, copied to the selected photos, gives a set the same character.
- ( 03 )
A cinema look
Grading LUTs bought or made in another program can be used here at partial strength.
- ( 04 )
Quick black and white
P&B Clássico removes color and adds contrast and clarity. To choose each color's grey, go to the B&W panel.
( Questions? Answered )
Frequently asked questions
Do filters change the photo permanently?
No. They write values to the controls, which you can change or reset afterwards. The original file on your device is not touched.
What is a LUT?
A table that says, for each input color, which color comes out. Video and photo editors use LUTs to carry the same look from one program to another.
Where do I find .cube LUTs?
Many editing programs export LUTs, and free and paid LUTs are available online. Check the license before using one in commercial work.
Can I combine a filter with a LUT?
Yes. The filter changes the adjustment controls and the LUT is applied afterwards, on top of the result. Lower the LUT strength if the combination gets too strong.
Is the LUT sent to a server?
No. The .cube file is read in the browser and kept in its local storage.
( In depth )
Filter, preset and LUT: three names for different things
All three change a photo's look in one step, but they store different information and behave differently when you keep editing.
A filter as a recipe of controls
This editor's filters are what other programs call presets: a list of values for controls that already exist. Warm raises temperature and a bit of saturation; Matte lowers contrast and lifts the blacks; Dramatic raises contrast and clarity and darkens the edges.
The advantage is transparency: after applying one you see exactly what changed and can undo just the part that did not work. The drawback is that the result depends on the photo. The same Warm on an already yellowish photo overdoes it.
A LUT as a color table
A 3D LUT is a color cube: for each combination of red, green and blue going in, the table says which color comes out, and the colors in between are interpolated. It can do transformations no single control can, such as pushing only the shadows toward green while leaving skin intact.
On the other hand, a LUT knows nothing about the photo. It was built for material with a certain exposure and white balance. That is why it is best to get light and color right first and use the strength to dose the effect.
How to choose
To correct a photo, use the adjustments. For a quick direction, a filter. To repeat an exact look across photos, cameras or programs, a LUT. A normal workflow can use all three: correct, apply the LUT and fine-tune with the controls.
One piece of advice applies to all of them: always compare with the original. Strong looks get tiring quickly, and what looks great after ten minutes of staring can look overdone the next day.
( Keep going )
Continue with the right workflow
- ( 01 )Adjust light and colorFine-tune the controls the filter changed.Read
- ( 02 )HSL editorChange one color range without touching the rest of the filter.Read
- ( 03 )Film grainIncrease or reduce the grain the Vintage filter applies.Read
- ( 04 )Analog effect guideBuild a film look from the controls.Read
( Ready when you are )
Pick a look and adjust it
Open the photo, try the filters, confirm the closest one and correct the rest on the controls.